For building simple websites such as this one, you can use static website generators like Jekyll or Hugo. But for building more sophisticated websites that require forms, user login, and database interaction, you'll need to develop a web app using one of many frameworks, including .NET, Java, Ruby on Rails, and more. Two of the most popular frameworks for developing Python web apps are Django and Flask. The purpose of this post is to walk you through deploying a working Django or Flask app to a production server.
During development, you can test your web app locally using
python manage.py runserver, but when it's time to
deploy your code to a server you'll need to use a different tool
for serving the app. This is because local tools are optimized
for refreshing content quickly during development, not for
serving multiple users quickly, efficiently, and reliably. For
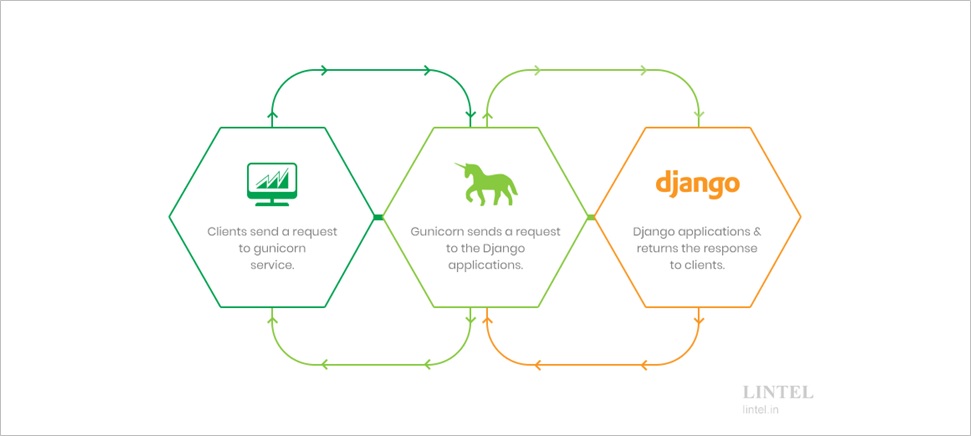
this blog post, we'll deploy our website using a tool called
Gunicorn (an app server) to run our Python code, which will
communicate with NGINX (a web server). Note that Gunicorn will
run any kind of WSGI app, which includes Flask and Django, but
we'll stick with Django for the examples.
Note that tools like AWS's Elastic Beanstalk are also available for deploying Django projects, but are generally more costly. Instead, for this tutorial we'll deploy our app server by hand.
Part 1: Launching the Web Server
Let's start by launching the web server. Follow the instructions in Launching a Web Server from Scratch. Once you can see that NGINX has been successfully installed and is serving a single HTML file at your URL, come back to this page.
Part 2: Launching the App Server
Inside your Django project, look for a file called
wsgi.py—it should have automatically been
placed there when you created your Django project for the first
time. Note down the name of the folder this wsgi.py
file is in, e.g. myappname/. Let's install Gunicorn
and point it to this file to run your app.
- Clone your Django project to your newly created web server. Install any dependencies if needed.
-
Run
sudo apt install gunicorn. -
Run the following:
sudo su
cd location/of/your/Django/project
gunicorn --workers 4 --bind 0:8000 myappname.wsgi:application
Side note: we've passed a few config options to Gunicorn here.
If we don't want to keep passing them to Gunicorn every time, we
simply point Gunicorn to a config file with these options
instead, and run it with gunicorn -c
/path/to/config.py. Here's a sample config file with more
options for convenience:
"""Gunicorn config file"""

# Django WSGI application path in pattern MODULE_NAME:VARIABLE_NAME
wsgi_app = "myappname.wsgi:application"
# The granularity of Error log outputs
loglevel = "debug"
# The number of worker processes for handling requests
workers = 4
# The socket to bind
bind = "0.0.0.0:8000"
# Restart workers when code changes (development only!)
reload = True
# Write access and error info to /var/log
accesslog = errorlog = "/var/log/gunicorn/gunicorn.log"
# Redirect stdout/stderr to log file
capture_output = True
# Daemonize the Gunicorn process (detach & enter background)
daemon = True
# Kill and restart workers silent for more than this many seconds
timeout = 10
# Restart workers after this many requests
max_requests = 1200
# Stagger reloading of workers to avoid restarting at the same time
max_requests_jitter = 90
Now that Gunicorn is successfully launched and running on port
8000, we simply need to hook it up to NGINX so that it can be
served at port 443, which is where HTTPS traffic is served.
Modify your /etc/nginx/sites-enabled/mywebsite.com
file to look like this:
server {
    listen 80;
    server_name mywebsitename.com www.mywebsitename.com;
    return 301 https://$host$request_uri;
}

server {
    listen 443 ssl;
    server_name mywebsitename.com www.mywebsitename.com;

    location / {
        include proxy_params;
        proxy_pass http://localhost:8000;
    }

    ssl_certificate /etc/letsencrypt/live/mywebsitename.com/fullchain.pem;
    ssl_certificate_key /etc/letsencrypt/live/mywebsitename.com/privkey.pem;
}
Next Steps
You did it! You now have a web server serving your Django app. This is good enough for a personal project, but if you're trying to launch a business that supports hundreds or thousands of users, there's still a long road ahead: static storage and databases and load balancing, oh my! Perhaps best saved for another blog post. Until then, happy serving!
